
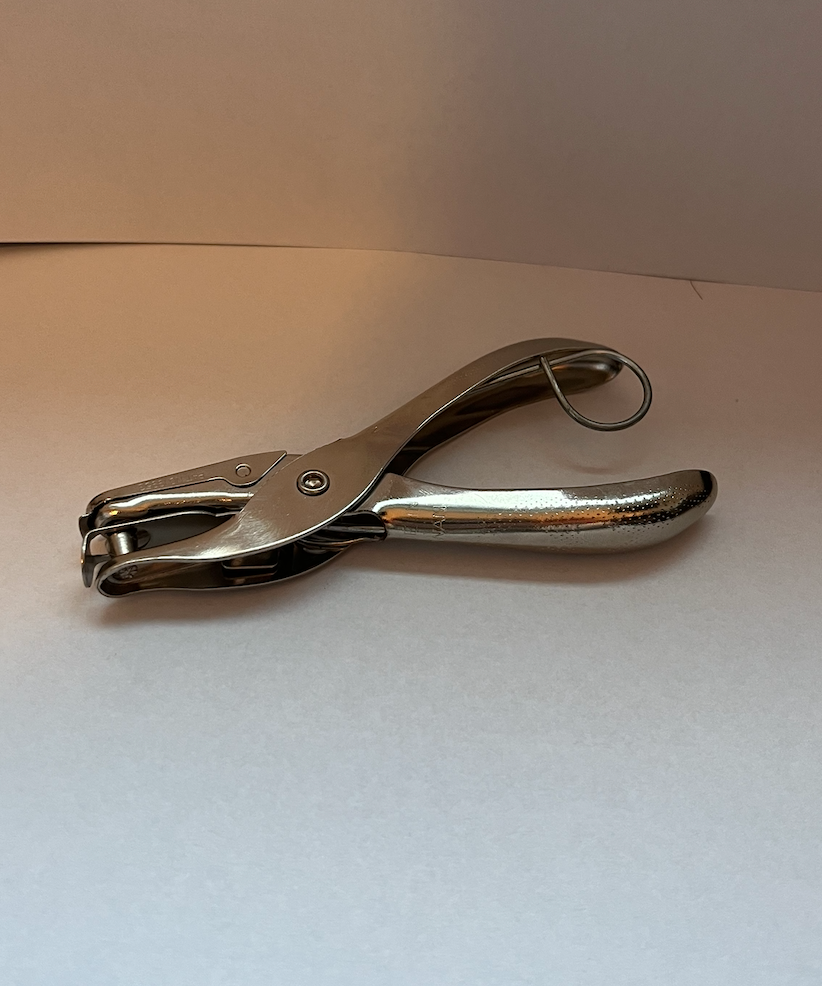
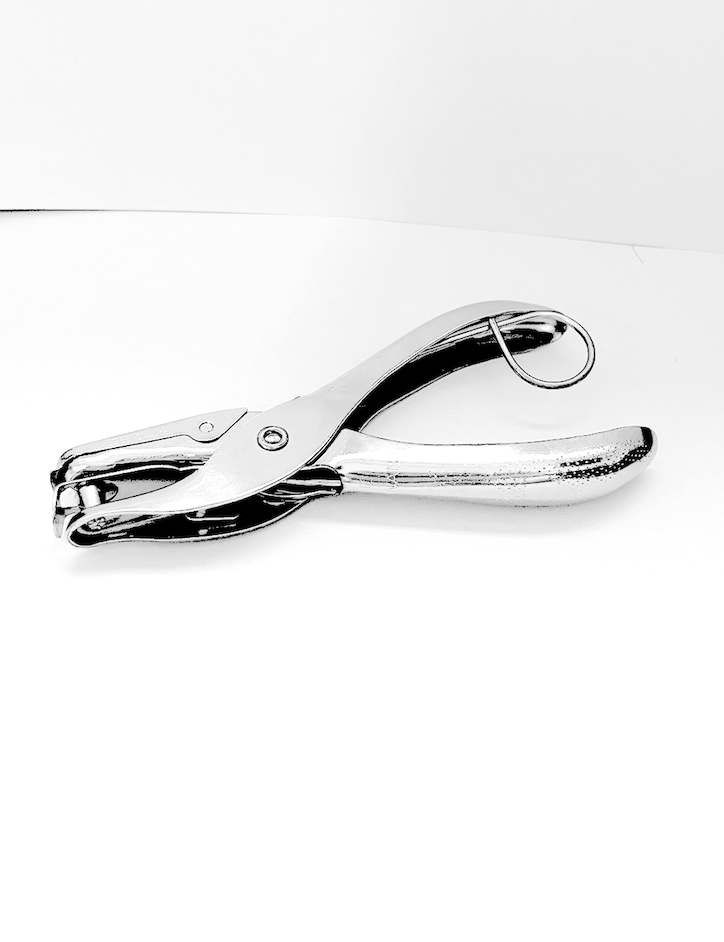
100 Sketches & Photos
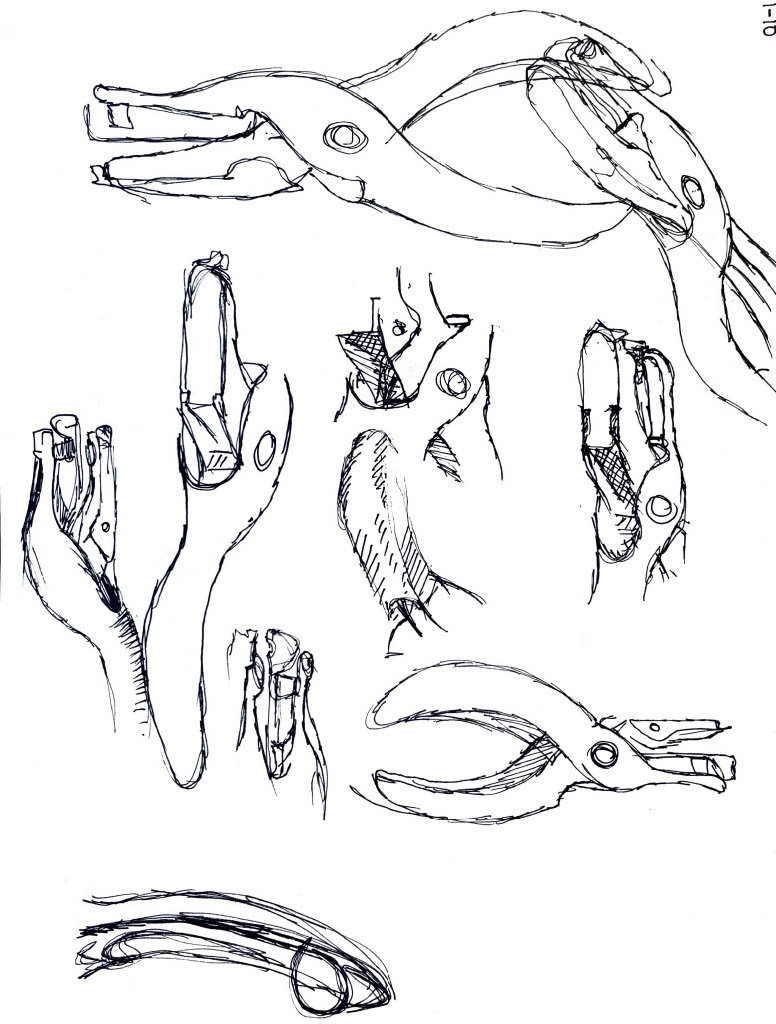


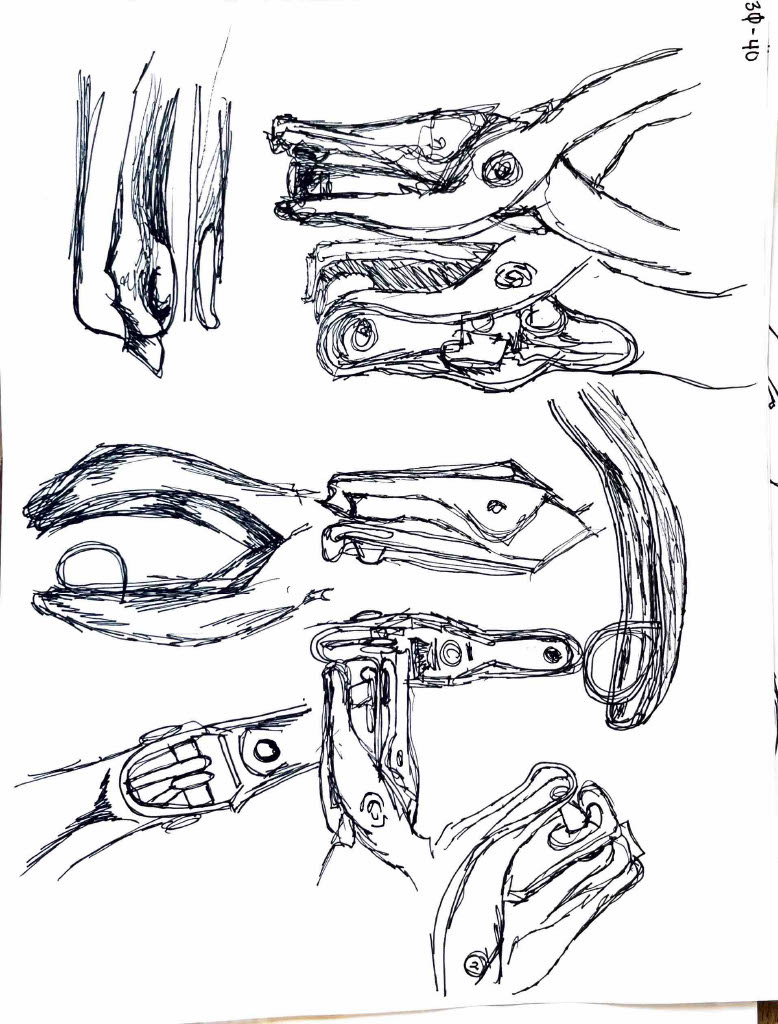


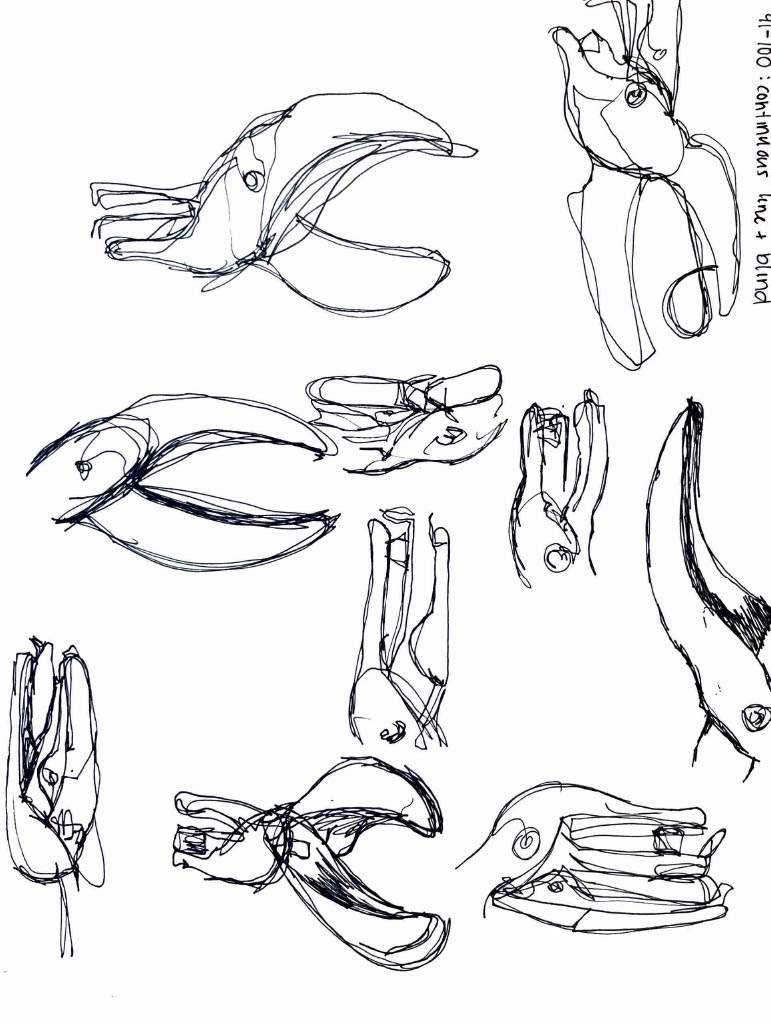

By sketching, photographing, and editing on Photoshop, I developed familiarity with the hole puncher's form, the manner of reflection the metal provided, and where the most important, intricate areas of form existed to define
this mechanism.
this mechanism.

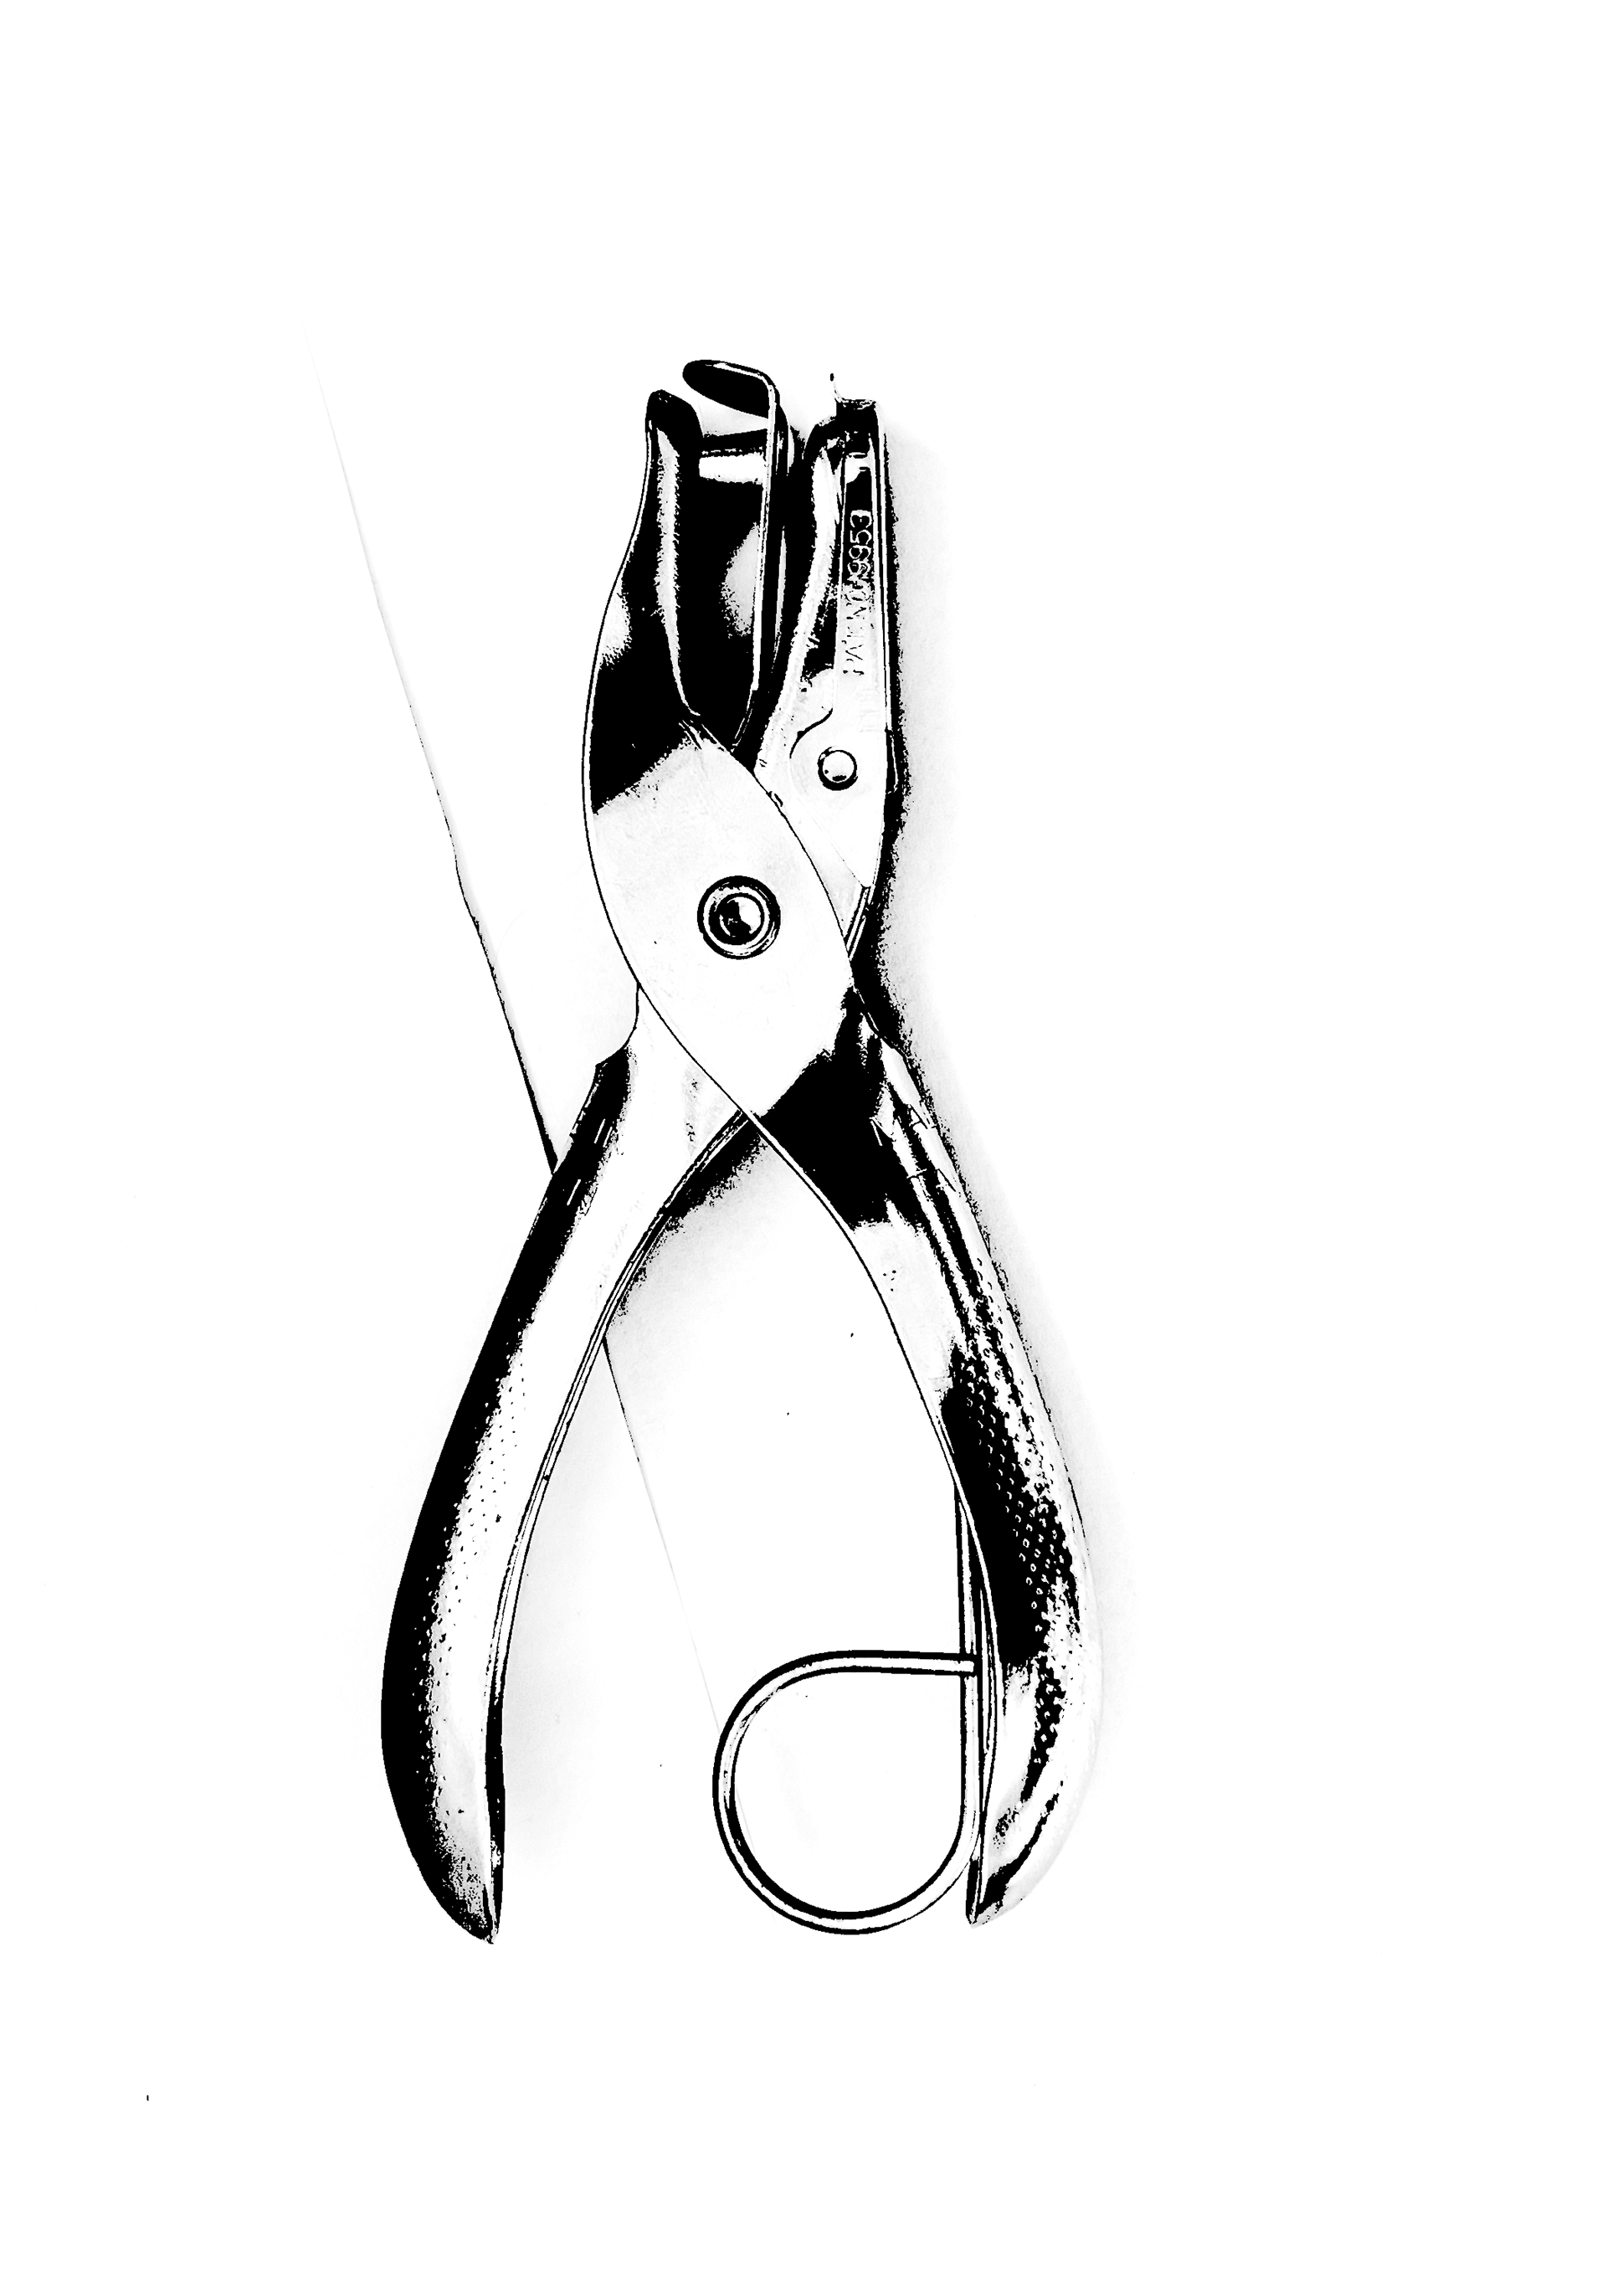
First Draft of Translations
Trial and Error
My first draft was unsuccessful. Upon critique, I realized that these renditions were too "sketchy". They don't ride the line of what minimal visual information can be provided so that the eye can fill in the gaps and still recognize an image for what it is.
My first draft was unsuccessful. Upon critique, I realized that these renditions were too "sketchy". They don't ride the line of what minimal visual information can be provided so that the eye can fill in the gaps and still recognize an image for what it is.
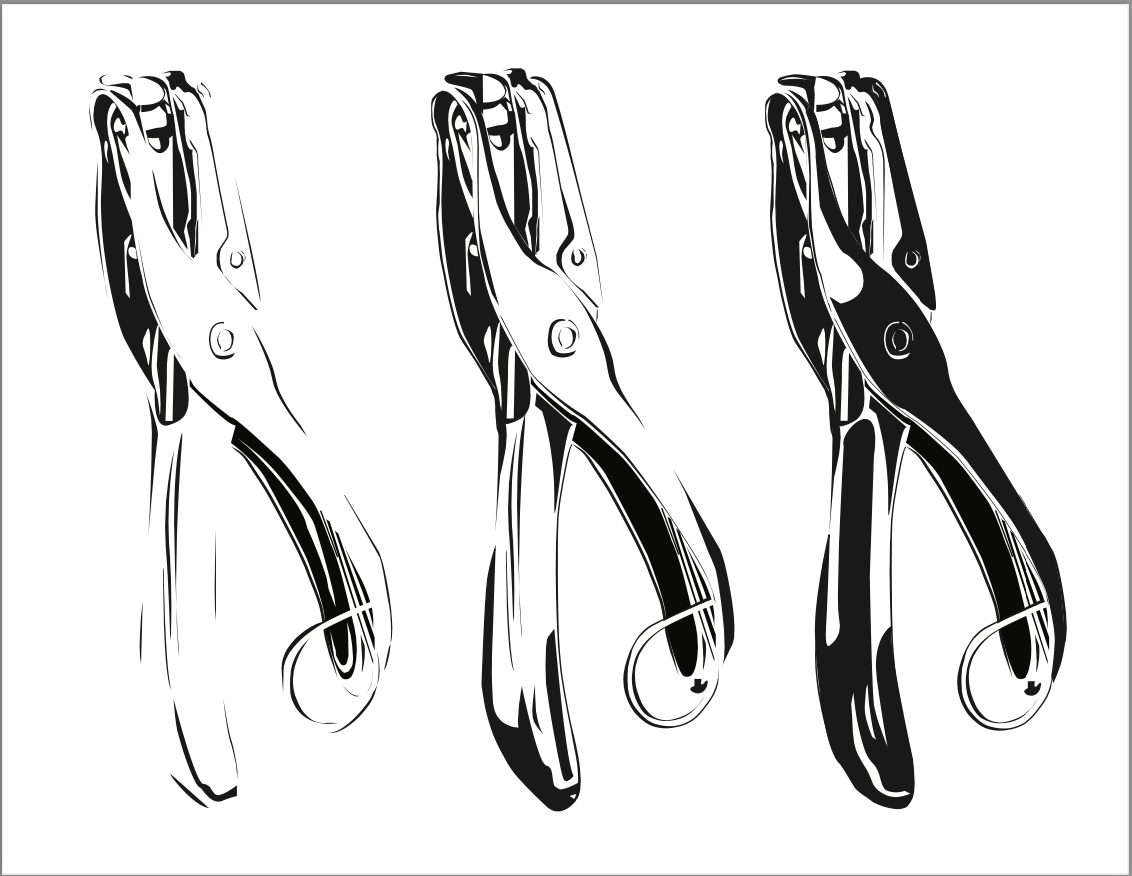
Success
I chose a light source at the bottom right of the puncher. This helped me decide what information, or shadows, needed to be included for the graphic to still communicate the form of the hole puncher.
I chose a light source at the bottom right of the puncher. This helped me decide what information, or shadows, needed to be included for the graphic to still communicate the form of the hole puncher.
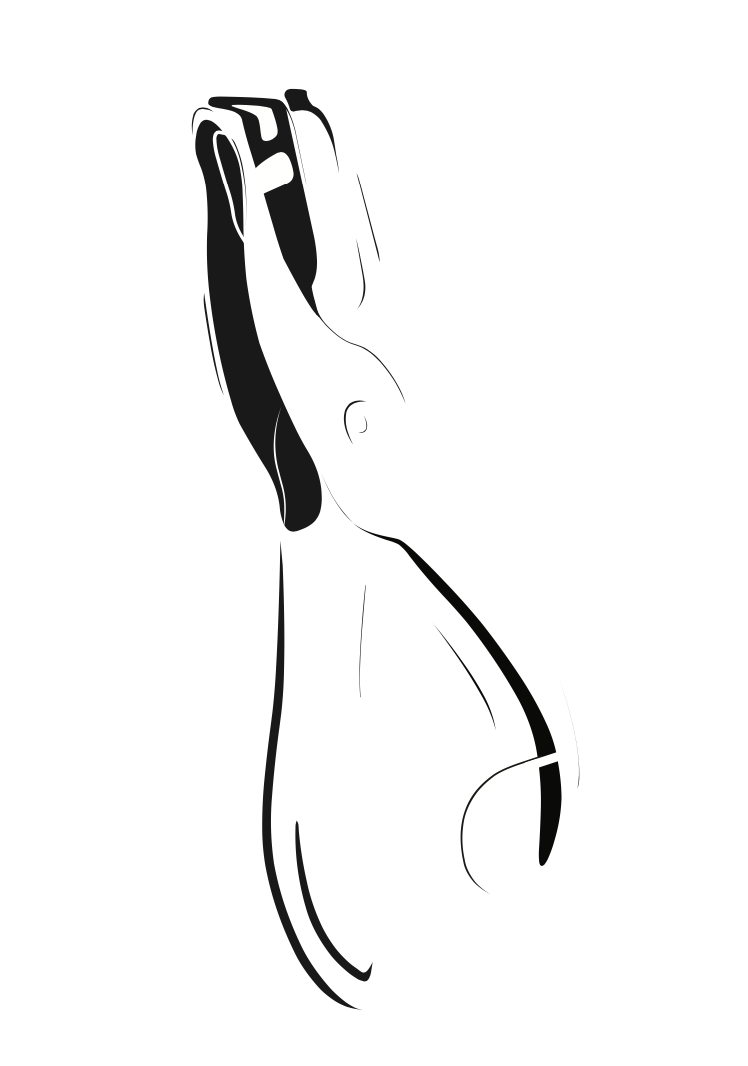
Graphic Translation to Logo


The logo design was restricted to five lines and dots, total. To solve this challenge, I further simplified my visual understanding of the puncher.
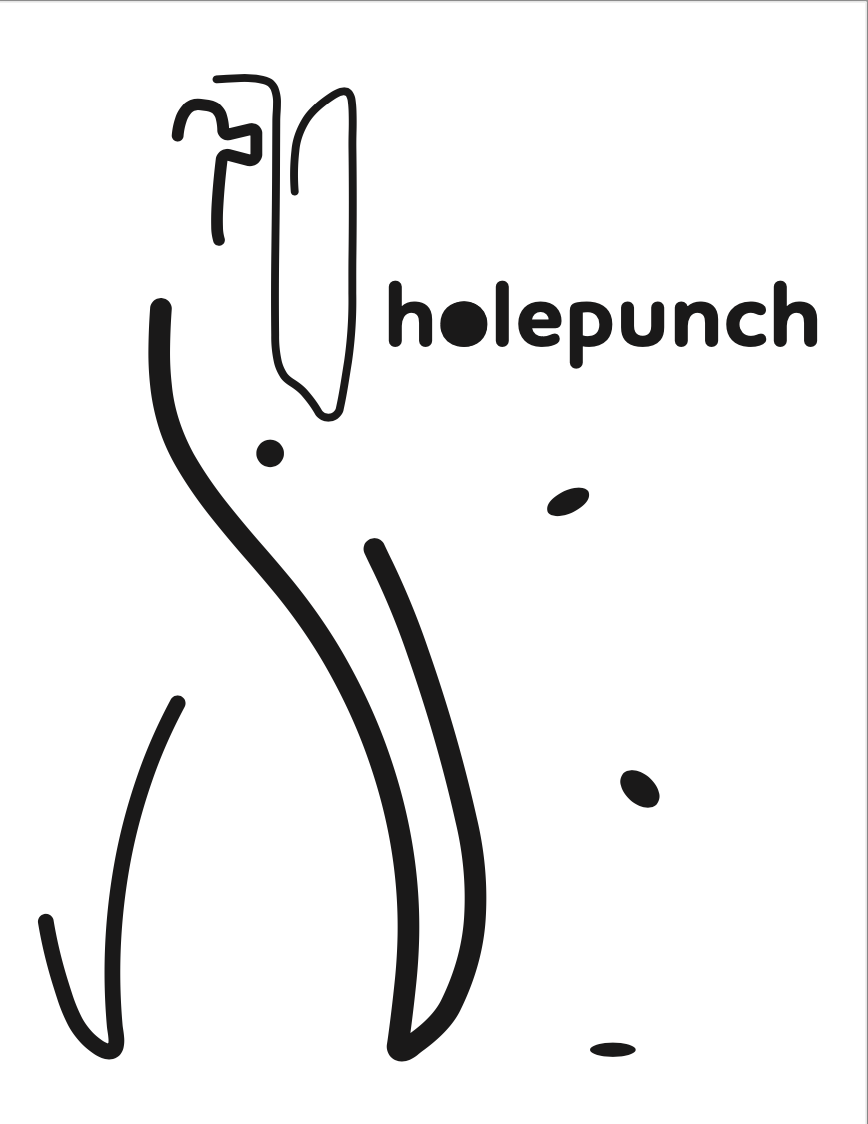
Success through font and form
When choosing a font, I chose one that had rounded ends, like the lines of the puncher, and reflected a similar curvature and thickness. I replaced the 'O' with a circle and added a few black ellipses below to mirror a hole in a piece of paper and the scraps falling down. This helped tie the image, font, and function of the object together.
When choosing a font, I chose one that had rounded ends, like the lines of the puncher, and reflected a similar curvature and thickness. I replaced the 'O' with a circle and added a few black ellipses below to mirror a hole in a piece of paper and the scraps falling down. This helped tie the image, font, and function of the object together.
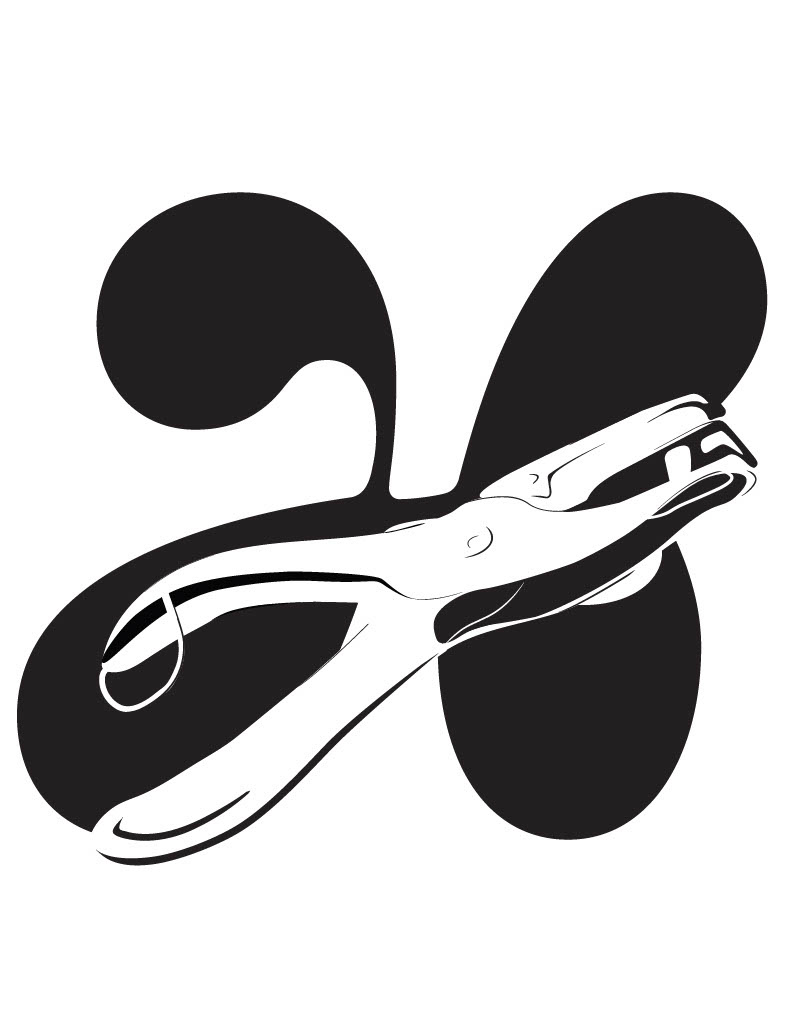
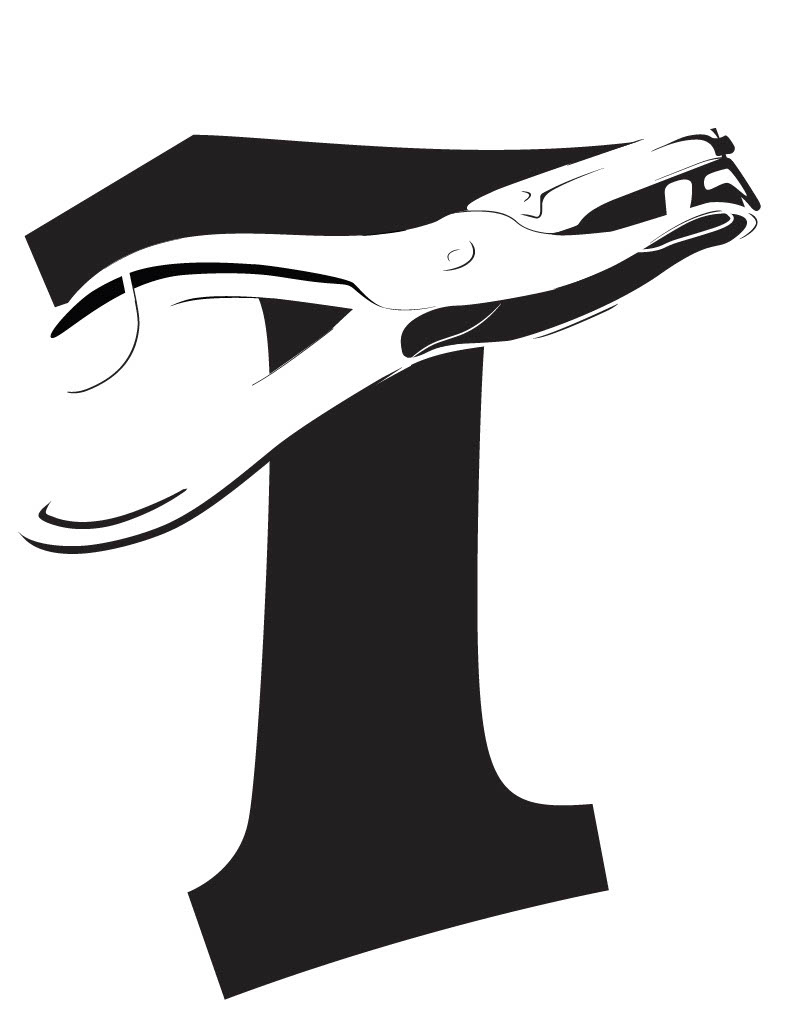
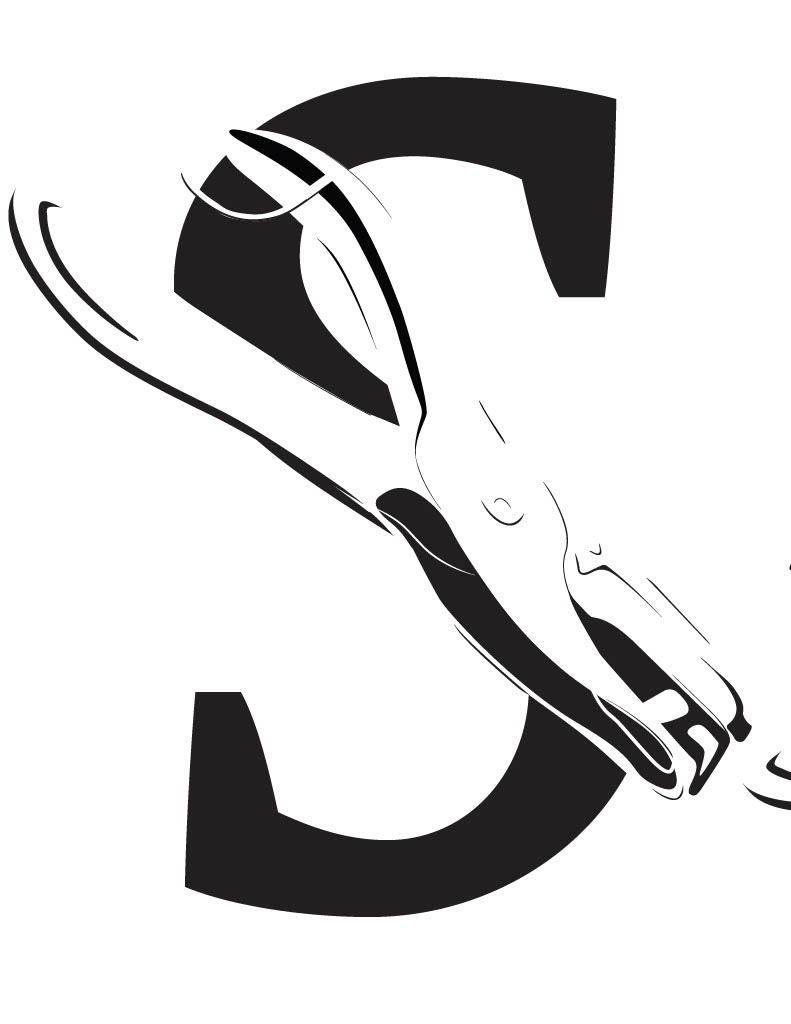
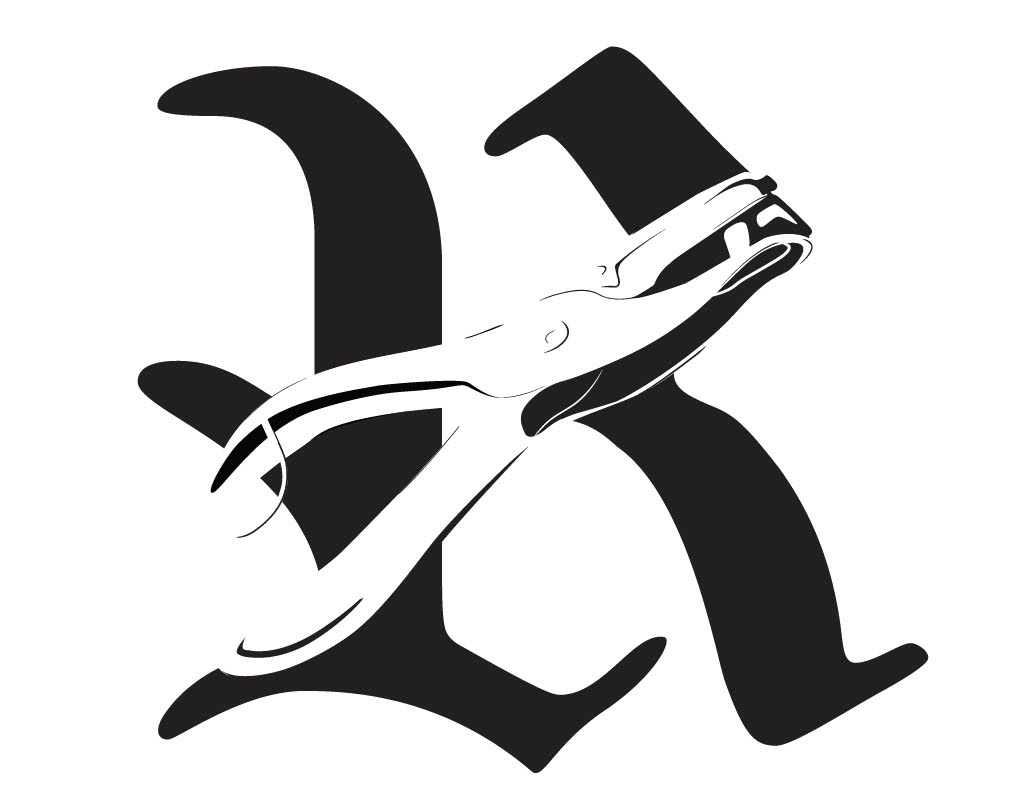
Graphic translation and letter form
My last exercise in graphic translation was to combine my puncher with a large capital letter. Ideally, the translation would sit on top of a letter that is relevent to its name. I began experimenting with H's (for hole), T's (for tool), P's (for puncher), S's (for solve), and O's (to mimic the hole a puncher would leave). I played with font type, in regards to curves, thickness, and serifs, as well as sizing and position of the puncher in comparison to the letters.
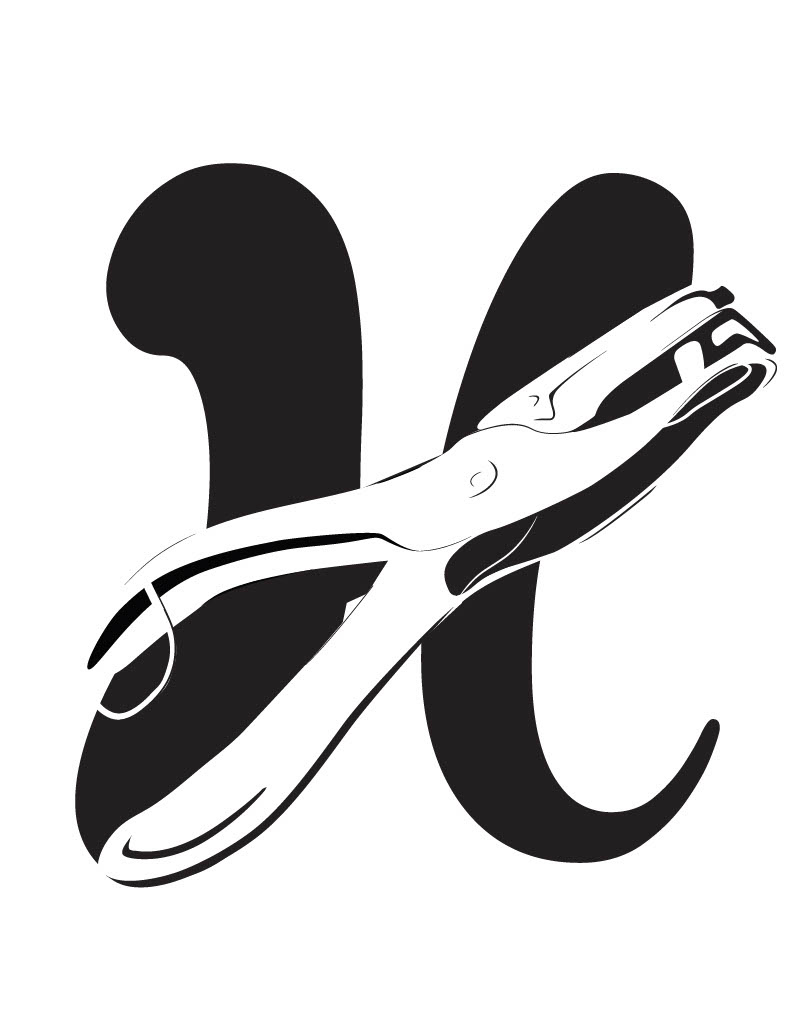


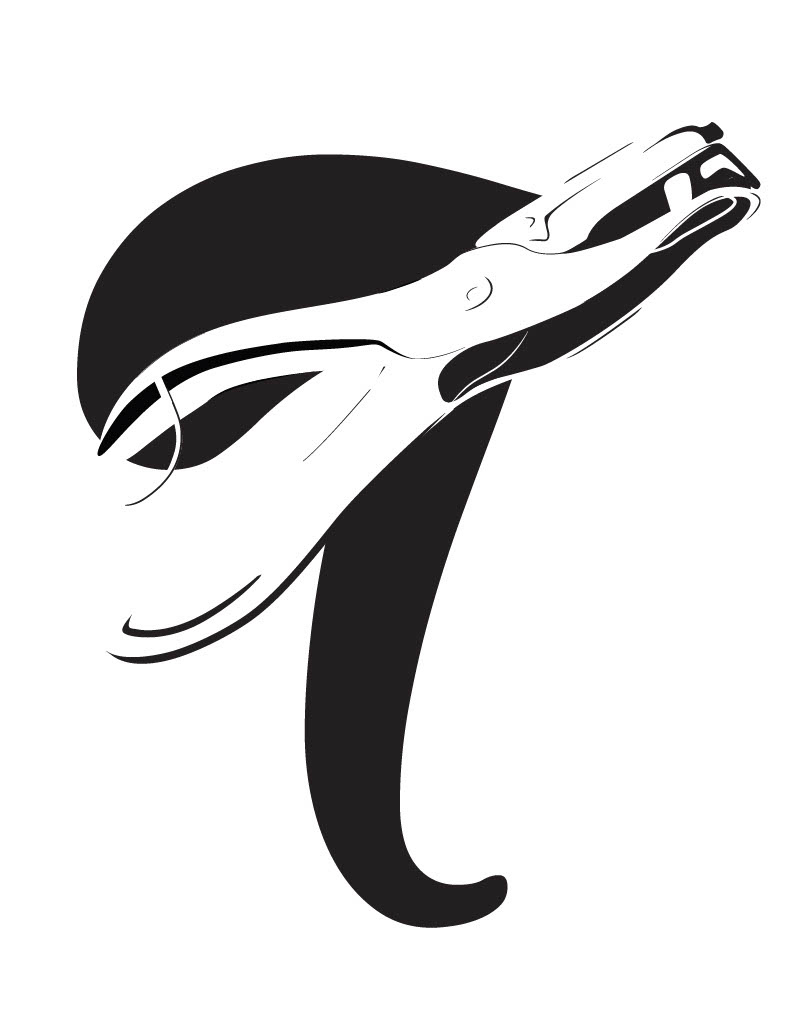


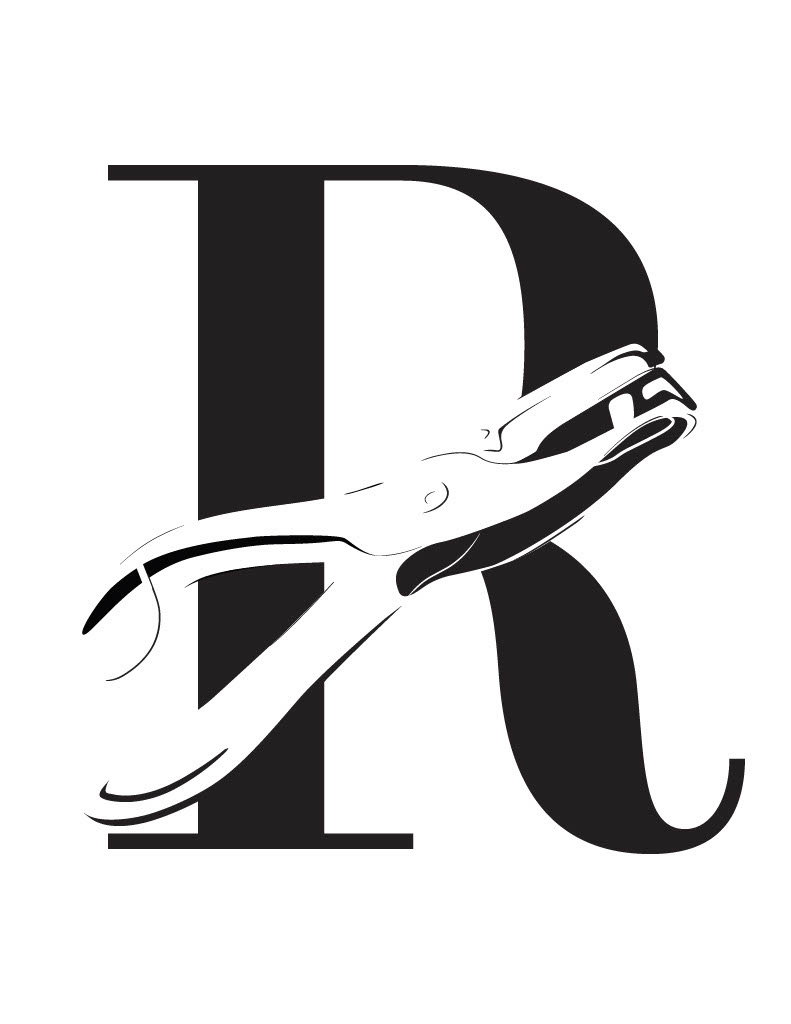
Capital R


Positive and negative space
The P had the best interaction with the puncher, creating an interesting connection between form and counter form. However, I felt that the image was top-heavy, and began experimenting with how an R would look with the puncher.
The P had the best interaction with the puncher, creating an interesting connection between form and counter form. However, I felt that the image was top-heavy, and began experimenting with how an R would look with the puncher.

I chose the Blackletter R as my solution to the problem of pairing form and type, black and white, positive and negative. I thought that the accents from the Blackletter on the stem in particular created more visual contrast and intrigue.
